Owning an RV requires upkeep that costs both in terms of money and effort, with repairs becoming more expensive over time. One of the main issues faced by owners of recreational vehicles (RVs) is water damage. Aside from being an inconvenience, water leaks can be hazardous; mold and mildew build-up may lead to structural problems as well as mold.
Leaks in an RV roof can be costly. To protect against such potential disaster, routine inspection, cleaning, and applying protective coatings are key measures for maintaining its integrity and avoiding further damage.
Identifying the Source of the Leak
If you notice water spots inside your RV, the first step should be identifying their source. Since water usually enters from the outside, regularly checking all exterior seals as well as areas exposed to weather like window seals, molding, vents/skylight/door and slide out seals is critical in finding solutions.
One method for locating an external leak in an RV is using a blower door test. This requires temporarily blocking off all vents and applying slightly pressurized pressure before applying a soapy solution to any suspected areas that might have leaks, and watching for bubbles that indicate where leakage originates from.
Visually inspect the roof and all protrusions, like antennas, for soft spots, discoloration and cracked caulking. Pay particular attention to areas around vents and skylights where leakage could easily cause water damage that won’t become evident until after it has happened.
Preparing Your RV for Repair
Leaks in an RV roof can cause significant internal structural damage if left unaddressed, so it’s essential to inspect it regularly after rainstorms or when washing your rig, particularly after cleaning it with soap. Look closely for cracks or tears around vents, skylights, or seams as these could indicate leaks are forming.
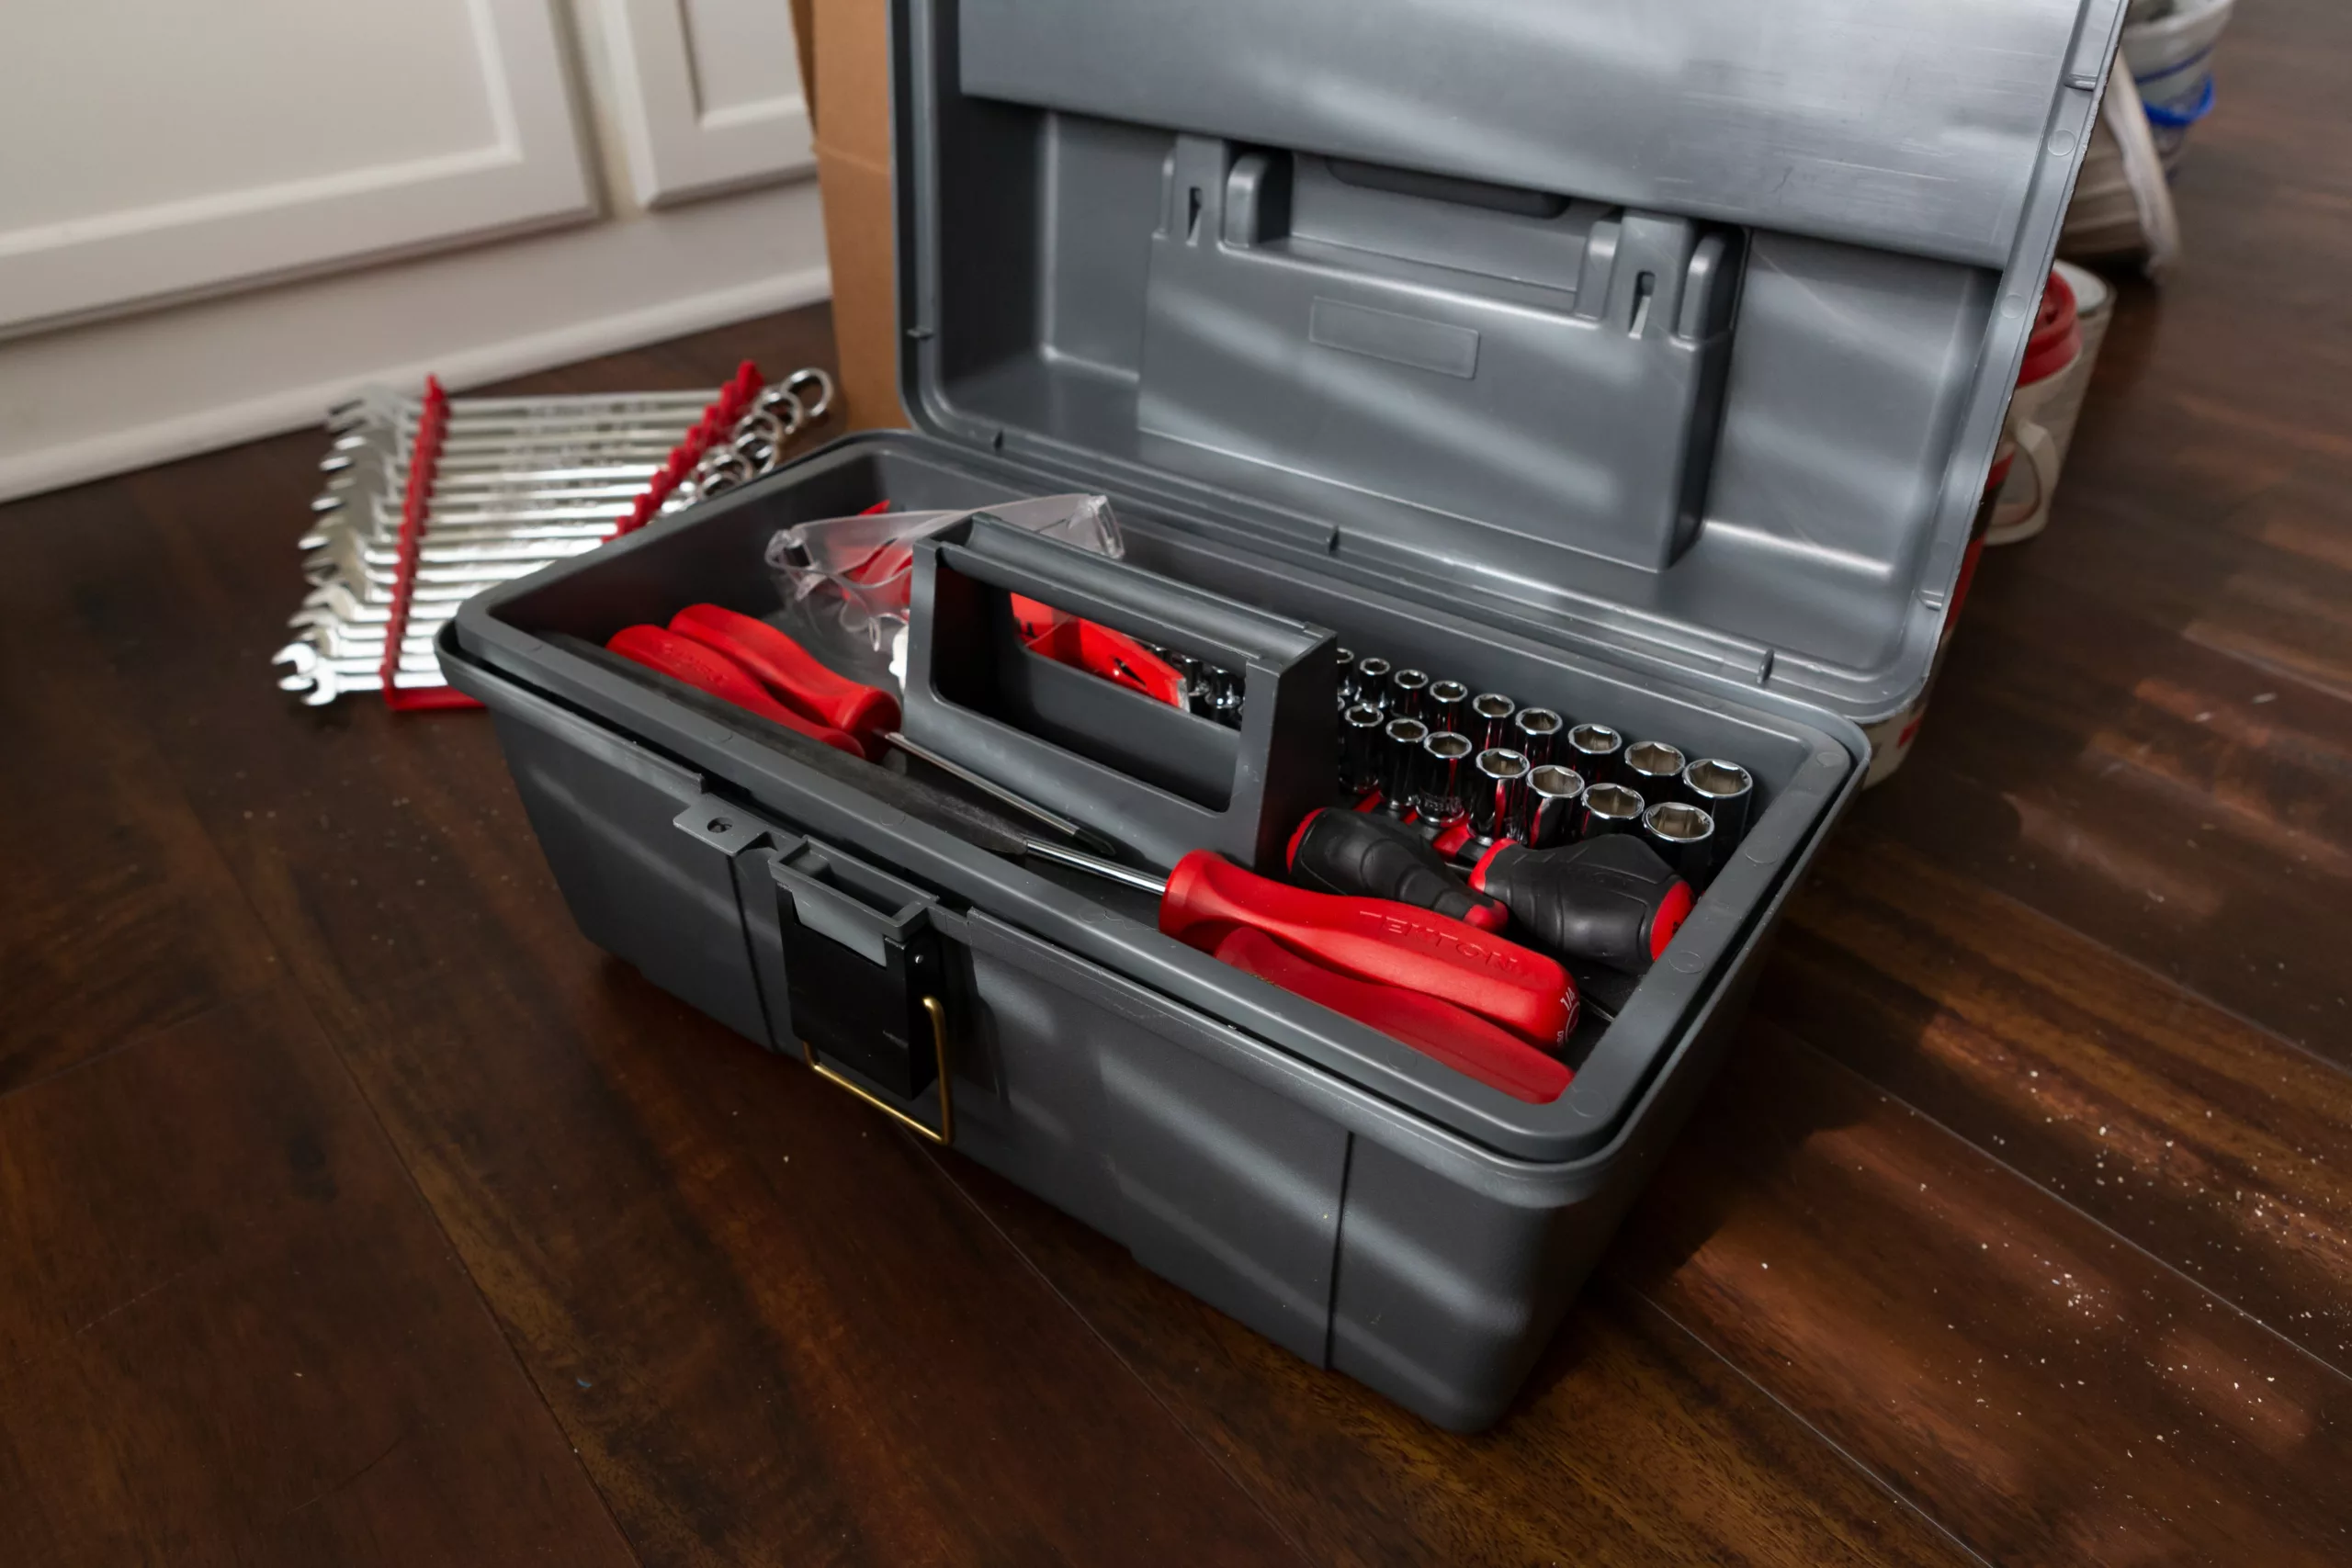
When you detect signs of leaks, it’s time to repair them immediately. Before making your repair attempts, however, be sure to gather all necessary supplies.
Start off by purchasing RV-specific sealant; this will help ensure a lasting repair without further damaging your rig. In addition, purchase all necessary tools and safety gear (gloves and eye protection). Finally, clean your roof thoroughly prior to commencing any projects – this will remove any dirt or debris that might be contributing to leaks on its own.
Applying a Temporary Fix
Water leakage into an RV can quickly lead to severe and expensive damage, but there are a few easy roof repair hacks you can employ to temporarily fix or reduce this problem until professional services can address it.
At first, it’s essential that you identify where the leak is taking place in your RV. A great way to do this is by placing a tarp over the area where the leak occurs – even if you think its location doesn’t warrant covering with one.
An alternative solution to replacing it quickly with something more permanent could be using rubber patches available from RV supply stores to stop leaks immediately and should hold until more permanent solutions can be implemented. Eternabond waterproof sealant tape may also work; when properly applied it could stay put for years!
Making a More Permanent Fix
Once your roof has dried from being cleaned, you can begin applying more permanent waterproofing treatments. There are various solutions available – liquid rubber coatings or tapes specifically tailored for RV roofs are both great solutions that should last years before needing replacing or inspection. With regular inspections and maintenance combined with these products, your RV roof should provide years-long service without leaks or replacement needs.
How to Prevent Roof Leaks in Your RV
Maintaining your RV roof to prevent roof leaks is a straightforward solution: keep it clean. That means regularly washing it and clearing away areas where water may enter. Inspect your roof periodically for cracks or holes – at least annually but more frequently if your location experiences extreme weather.
If you discover any spots requiring sealing, make sure that you use an appropriate sealant for your RV roof. Consult the owner’s manual or manufacturer instructions; some sealants aren’t compatible with each other and it would be wise to avoid mismatches when applying sealants.
Make sure that you invest in an RV cover as another way of preventing roof leaks; this will not only keep the rain at bay but also insulate it against different temperatures and protect against scratches and dents.
As part of your efforts to prevent roof leaks, familiarizing yourself with the structure of your RV’s roof will also help. By becoming acquainted with it, it will be easier for you to notice any irregularities or signs of a potential leak before it worsens. Be sure that you also set up an effective maintenance schedule for your RV. This will allow any issues with it to be taken care of quickly before they worsen further.
By following these tips, you can help avoid roof leaks in your RV and safeguard its investment. Leaky roofs can be costly to repair; taking steps now to prevent roof leaks can save both money and headaches down the line.